27 Budget Kitchen Organization Ideas for Renters (All Under $25)
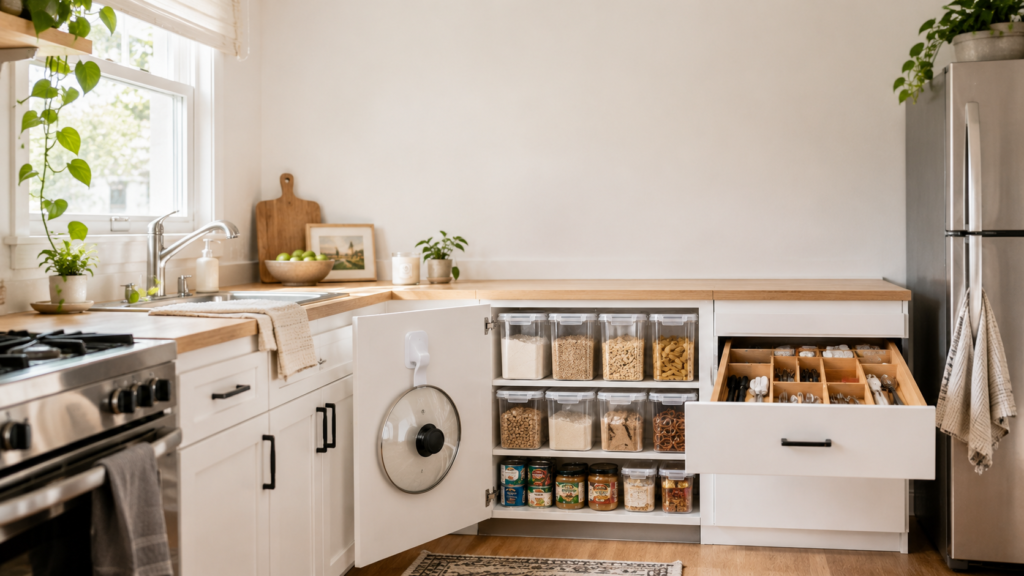
Small kitchen. Big mess. Zero permission to drill a single hole in the wall.
If that sounds like your rental, you already know the drill (pun intended): every “easy kitchen organization” article on the internet assumes you own the place, have a drill, and don’t mind losing your security deposit over a cabinet rack. Renters need a different playbook — one built entirely around command strips, tension rods, adhesive hooks, and stackable bins instead of screws.
This list is just that: 27 renter-safe, budget-friendly ways to organize a small kitchen, every single one under $25, and every single one fully reversible when you move out.
Products I Recommend for This Project
A handful of tools do most of the heavy lifting here. You don’t need all of them — pick two or three that match your biggest pain point and start there.
- Lifewit Expandable Drawer Dividers, 5-Pack — $15.97 — adjustable plastic dividers that wedge into any drawer without tools. Turns one junk drawer into several organized sections.
- Simple Houseware Over-Cabinet Door Organizer — $18.87 — hangs on a standard cabinet door, no screws. Solves pot-lid clutter instantly.
- Vtopmart Small Stackable Clear Storage Bins, 4-Pack — $21.99 — turns a chaotic pantry or vanity shelf into a labeled, see-through system (pair with a label maker — tip #25).
- Heavy-Duty Adhesive Wall Hooks, 50 lbs, 10-Pack — $8.99 — the single most useful renter tool; waterproof, holds up to 50 lbs, removes cleanly.
- Hershii Expandable Tension Shelf & Rod — $24.90 — creates an instant second shelf or hanging bar with zero drilling.
- Copco Non-Skid Turntable, 12-Inch — $15.53 — perfect for corner cabinets or a cluttered spice shelf.
- Magnetic Stainless Steel Spice Jars, 12-Pack — $18.99 — magnetic jars that stick to a fridge, oven hood, or steel backing plate — no drilling required.
The 27 Ideas
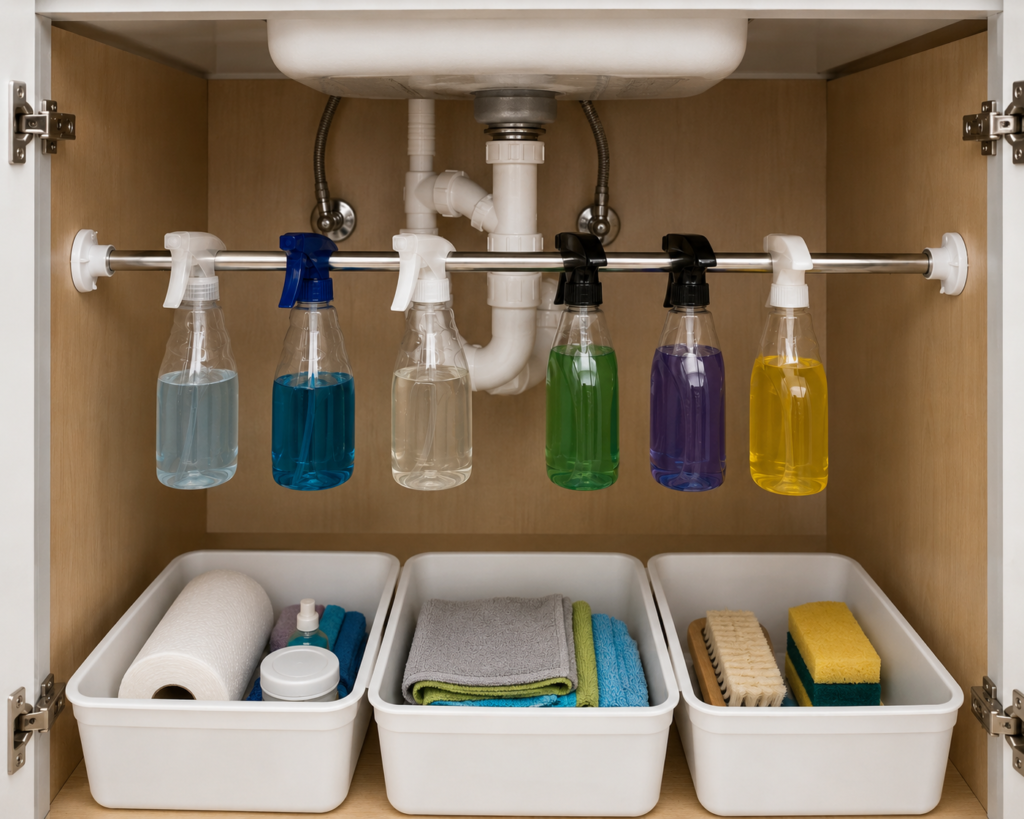
1. Use tension rods as a mini shelf under the sink
Wedge a spring-loaded curtain rod under your sink, a few inches above the floor. Hang spray bottles from it by their trigger handles. Frees up the entire bottom of the cabinet for bins.
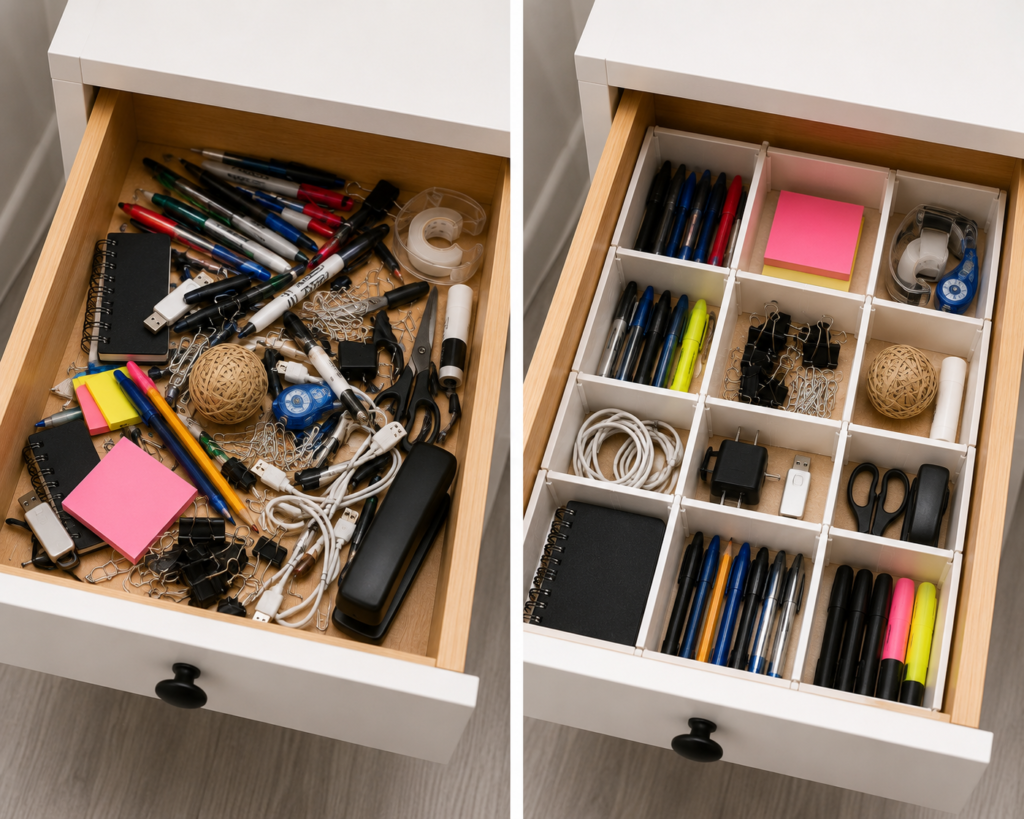
2. Line drawers with dividers before you organize, not after
Buy the dividers first. Trying to organize a drawer and then add dividers later means unpacking and repacking everything twice.
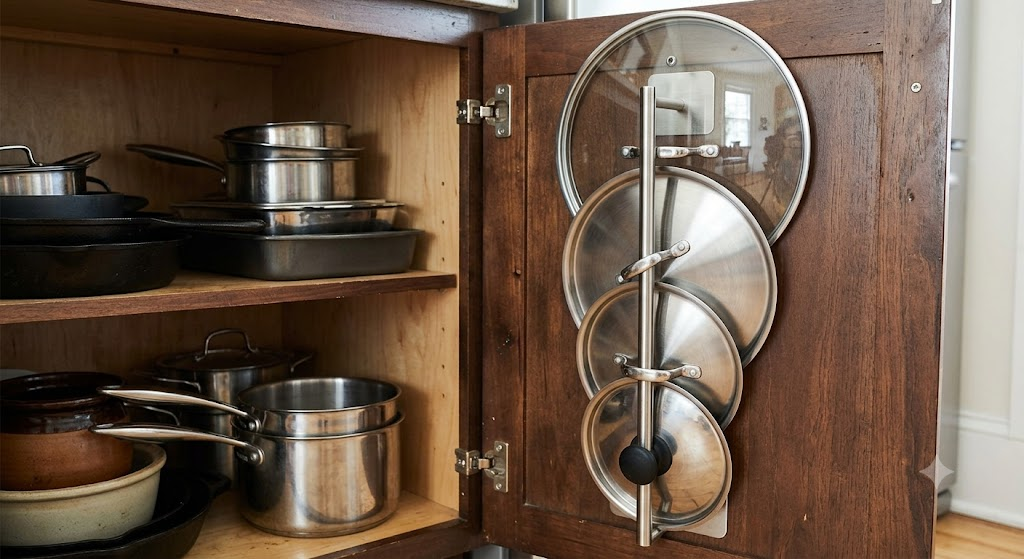
3. Turn a dish towel bar into a lid organizer
An adhesive towel bar mounted vertically inside a cabinet door holds pot lids upright by their handles. No more lid avalanche every time you open the cabinet.
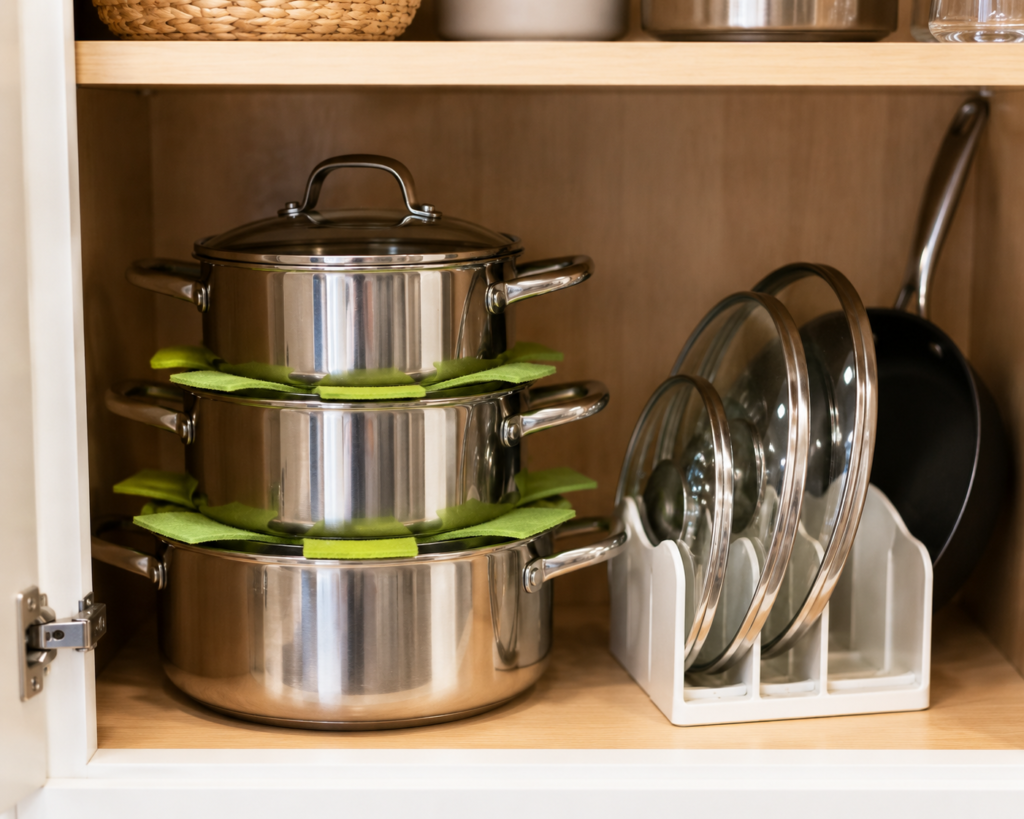
4. Stack pots with felt or silicone protectors between them
A $6 pack of protector pads lets you stack pots two and three high without the scratching that usually makes people spread them out and waste cabinet space.
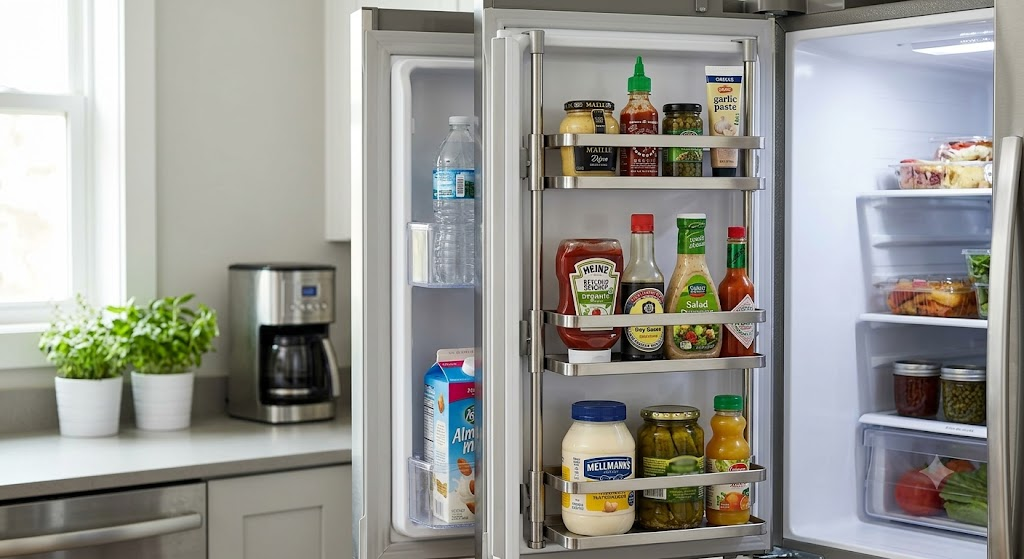
5. Use a shower caddy as a fridge door organizer
A tension-mounted shower caddy fits perfectly on the inside of a fridge door for condiments, cutting down on shelf clutter. Look for one with an adjustable width so it doesn’t rattle against the door every time you open the fridge — the cheap fixed-width versions tend to slide and tip.
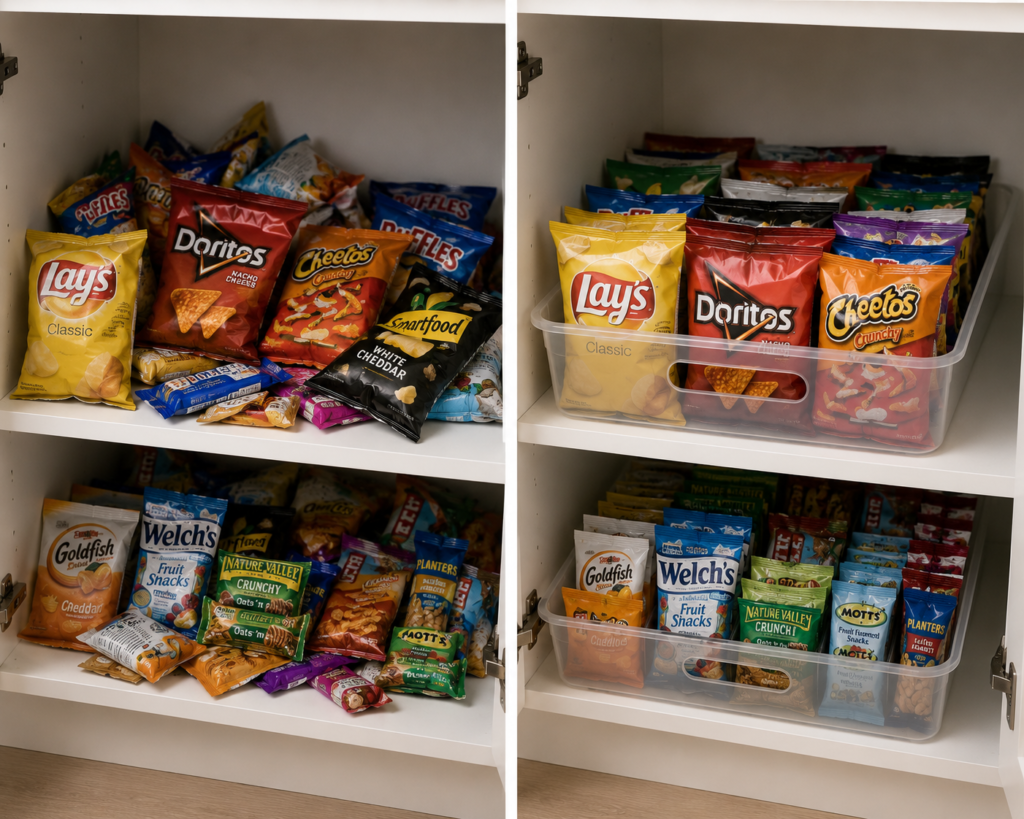
6. Corral snack bags in a bin, not a shelf
Loose chip bags and snack pouches take up way more room lying flat than standing up in a labeled bin. One bin replaces an entire shelf of chaos.
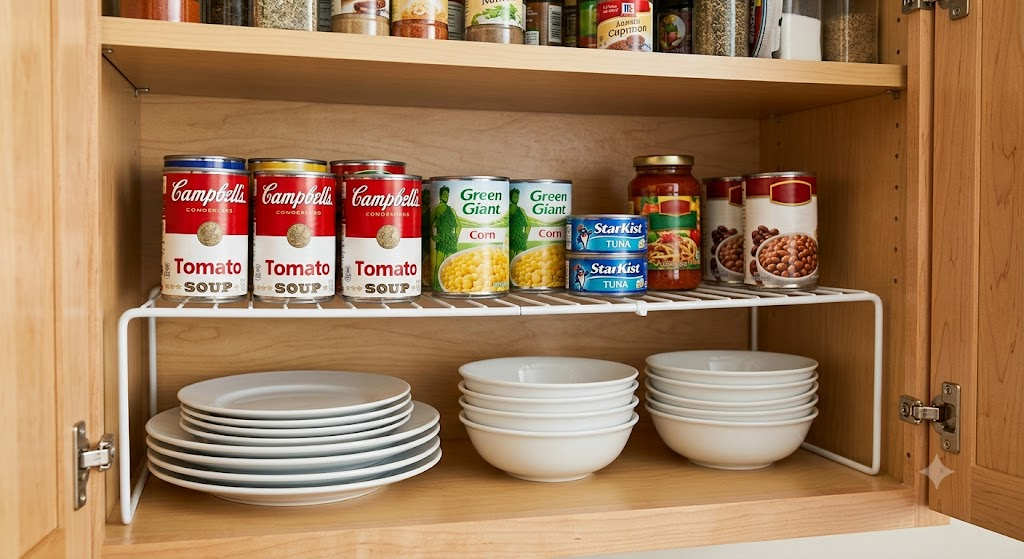
7. Add a second tier to one cabinet shelf with a wire rack
A cheap expandable wire shelf riser instantly doubles usable space in a cabinet with a lot of dead air above your plates or cans.
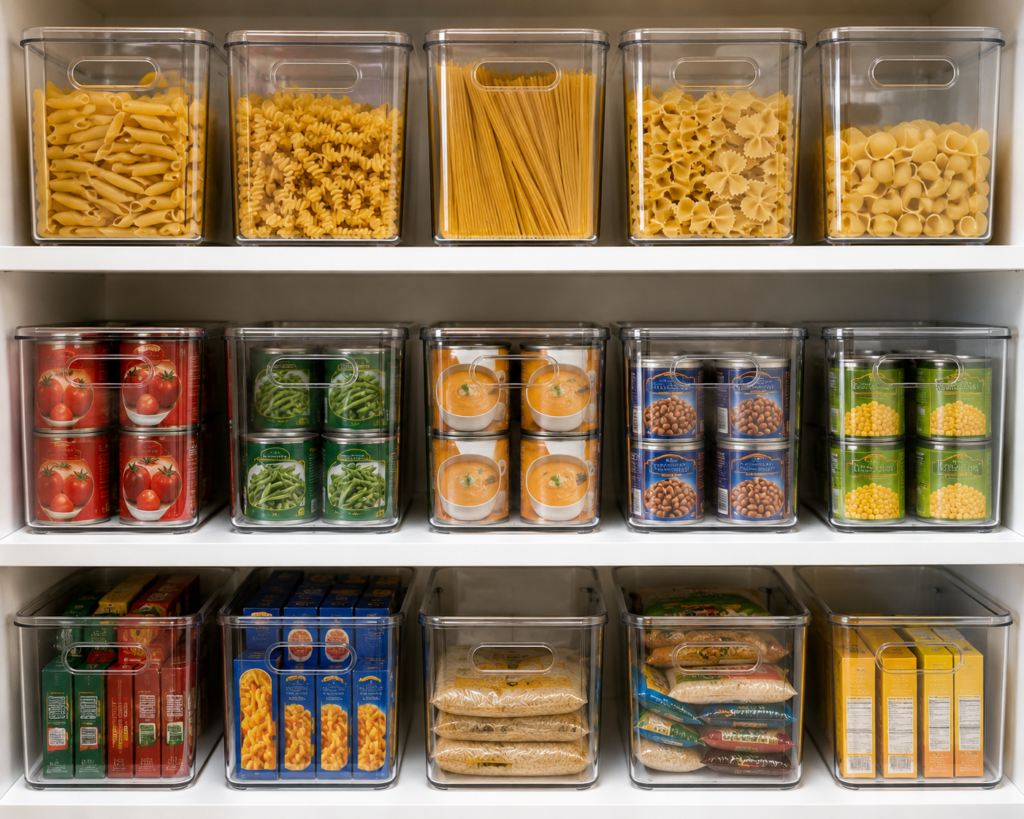
8. Use clear bins so you stop over-buying
When you can see exactly how much pasta or canned soup you have, you buy less of what you already own. This alone can pay for the bins within a few grocery trips.
What This Actually Costs
You don’t need to buy all 27 solutions at once. Here’s the real breakdown based on current prices, not rounded guesses:
| Tier | What you get | Actual total |
|---|---|---|
| Quick fix | Adhesive hooks ($8.99) + tension rod ($24.90) | $33.89 |
| Core setup | Quick fix + drawer dividers ($15.97) + clear bins ($21.99) | $71.85 |
| Full overhaul | Everything above + turntable ($15.53) + spice jars ($18.99) + cabinet door rack ($18.87) | $125.24 |
Every single item on its own stays under $25 — it’s only once you start stacking them into a full setup that the total climbs past that. Most people notice a real difference at the Core Setup tier — that’s usually the point where the “everything falls out when I open a cabinet” feeling goes away.
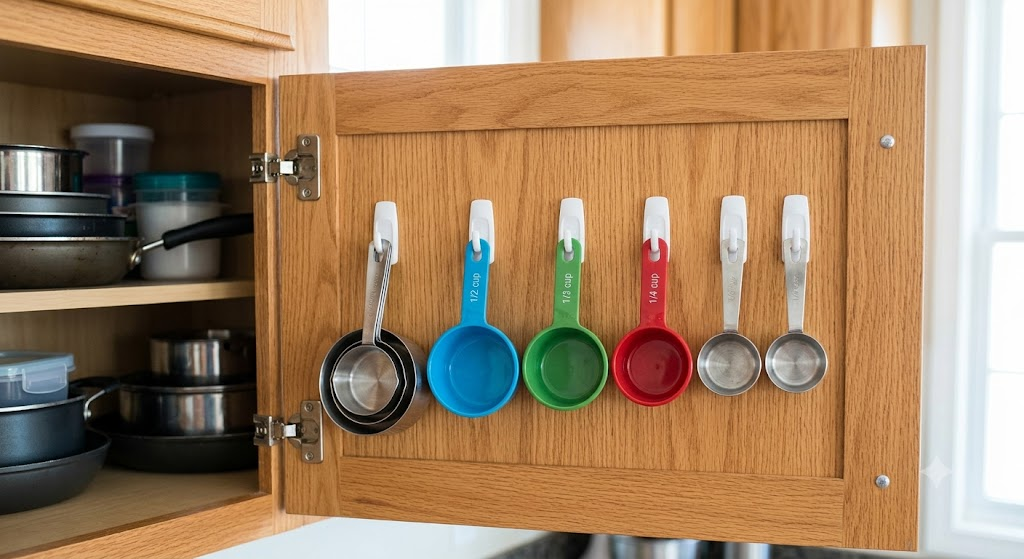
9. Hang measuring cups on adhesive hooks inside a cabinet door
Stops the drawer-diving search for the 1/3 cup measure. Takes 90 seconds to install. Group them by size on adjacent hooks so you can grab the right one without lifting the others off first.
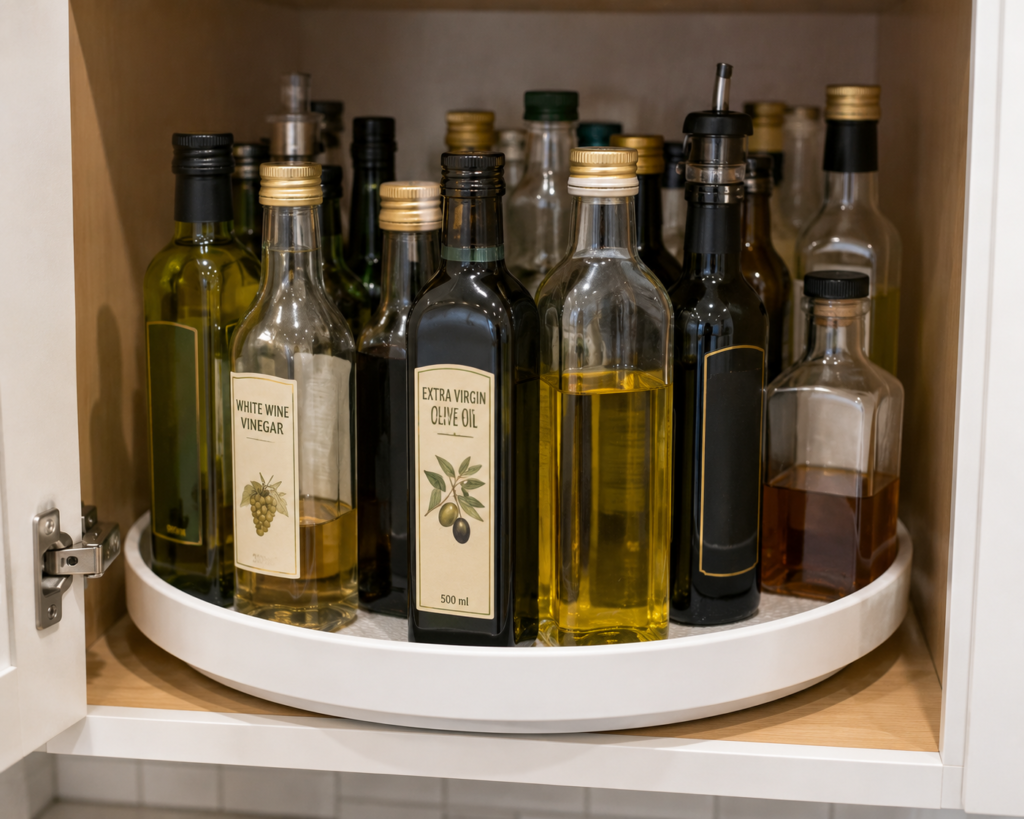
10. Use a lazy Susan for oils and vinegars, not just spices
People default to lazy Susans for spice jars, but they’re even more useful for the tall, awkward bottles that usually tip over on a flat shelf.
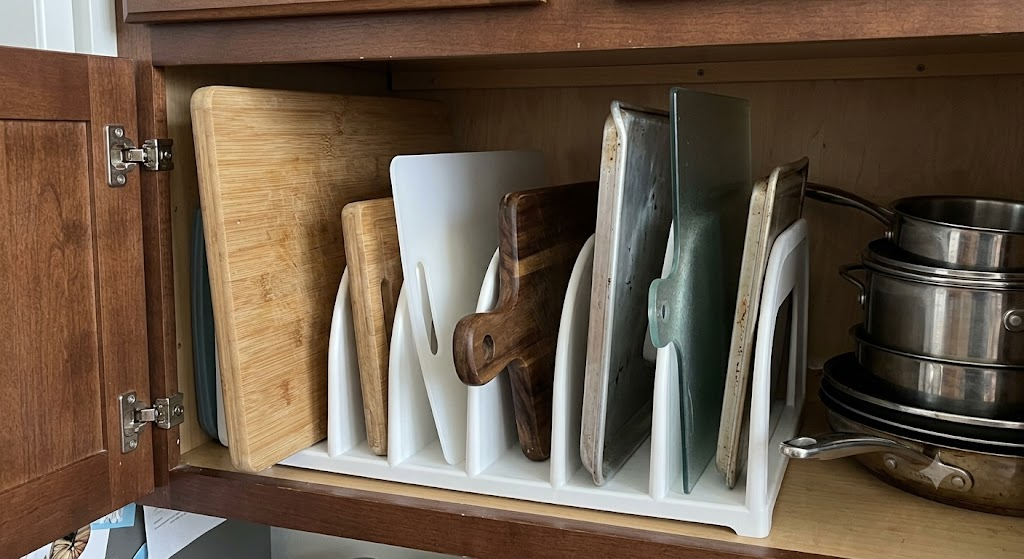
11. Store cutting boards vertically with a $10 file organizer
A plastic desktop file organizer, turned sideways in a cabinet, holds cutting boards and baking sheets upright instead of stacked.
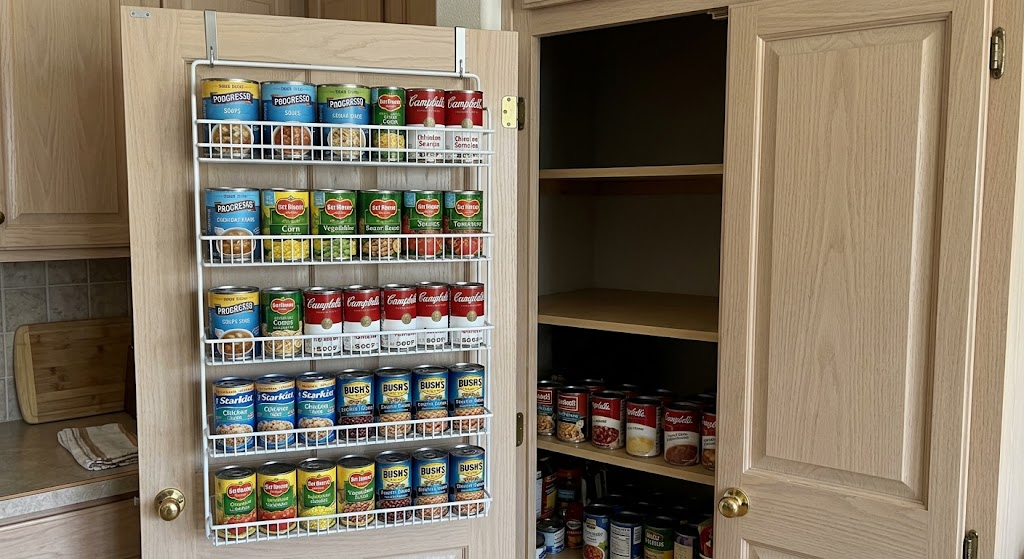
12. Use the inside of your pantry door for canned goods
A shallow over-door rack (no screws, hangs on the door itself) holds several rows of cans and frees an entire shelf.
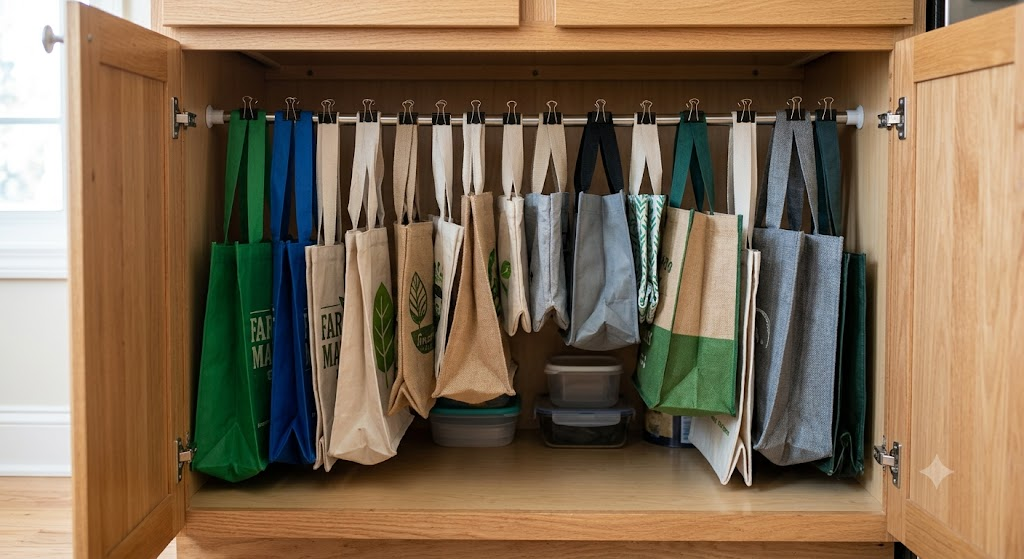
13. Corral reusable bags in one spot with a tension rod and clips
Loop a tension rod inside a lower cabinet and clip your reusable grocery bags to it with small binder clips. No more bag pile on the floor.
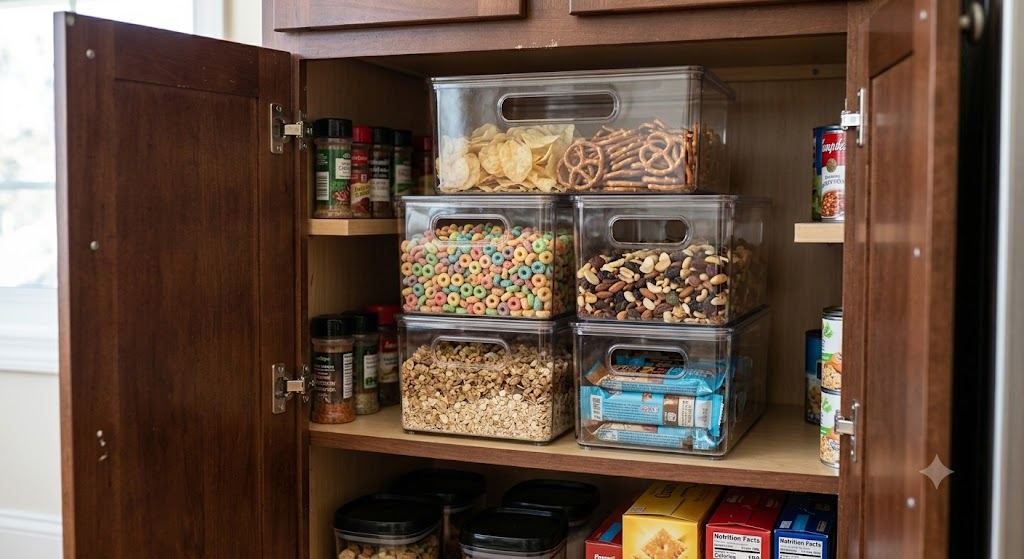
14. Use stackable bins for cereal and snacks, not just pantry staples
Pouring cereal into a stackable bin (instead of keeping the bag) saves more shelf height than almost anything else on this list.
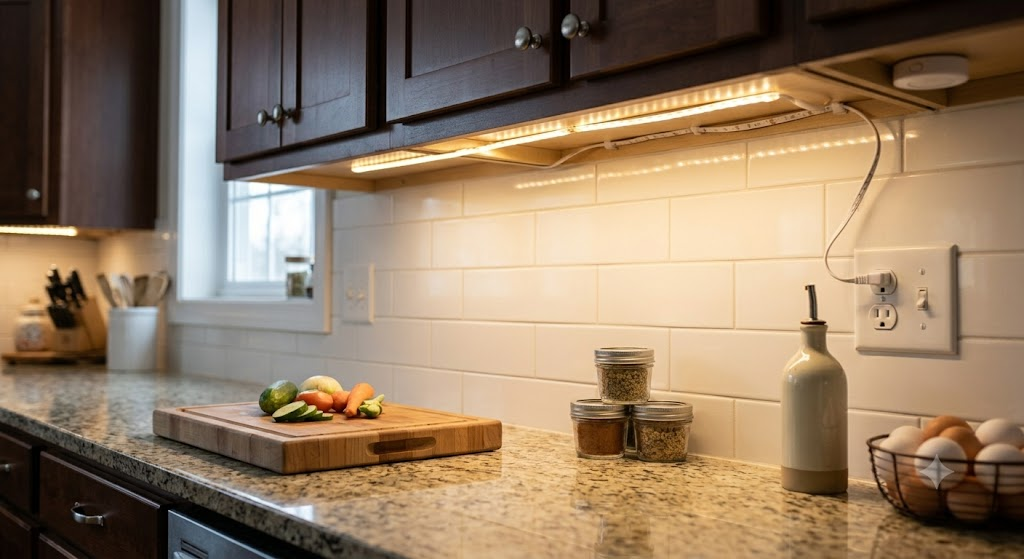
15. Add adhesive strip lighting under upper cabinets
Not organization exactly, but it makes everything you just organized visible — cheap, renter-safe, and plugs into an existing outlet. Battery-powered puck lights work too if you don’t have a nearby outlet, and they peel off just as cleanly at move-out.
16. Use a drawer divider tray for utensils sold separately from silverware
Most kitchens have one drawer that’s just “stuff” — spatulas, tongs, whisks. A second divider tray specifically for that drawer stops it from becoming a junk drawer again.
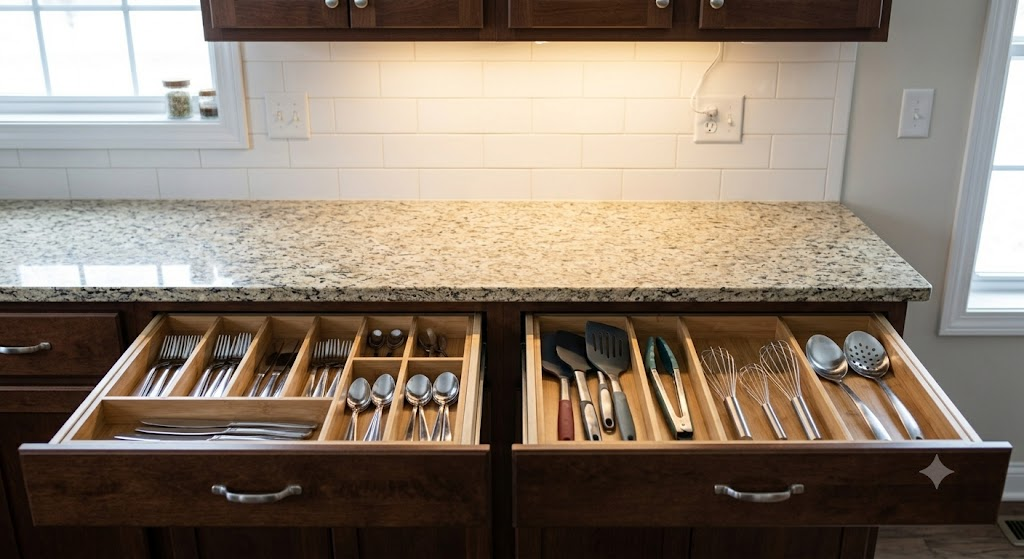
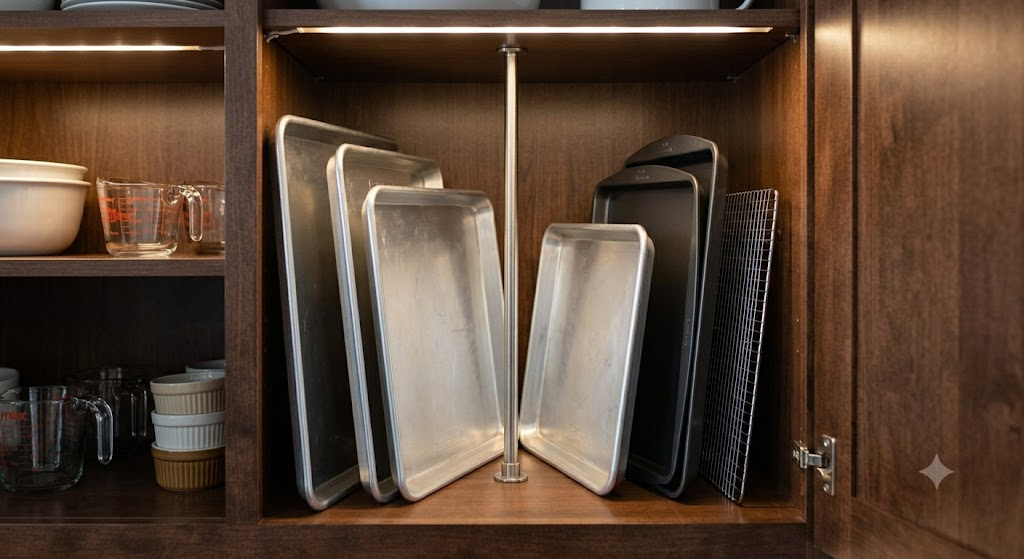
17. Store baking sheets between a tension rod, standing up
Same trick as cutting boards — a rod mounted vertically in a cabinet keeps sheet pans from being an avalanche risk every time you grab one.
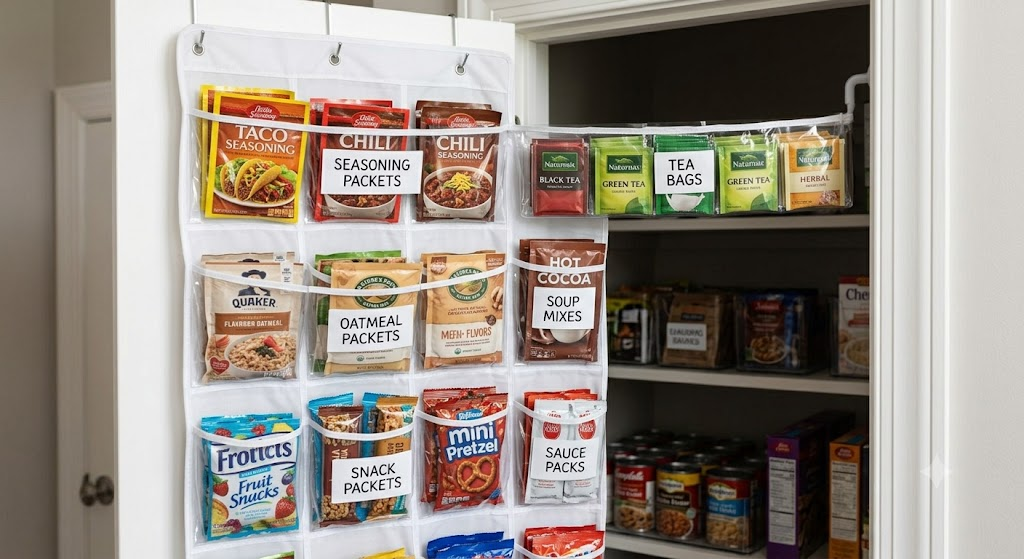
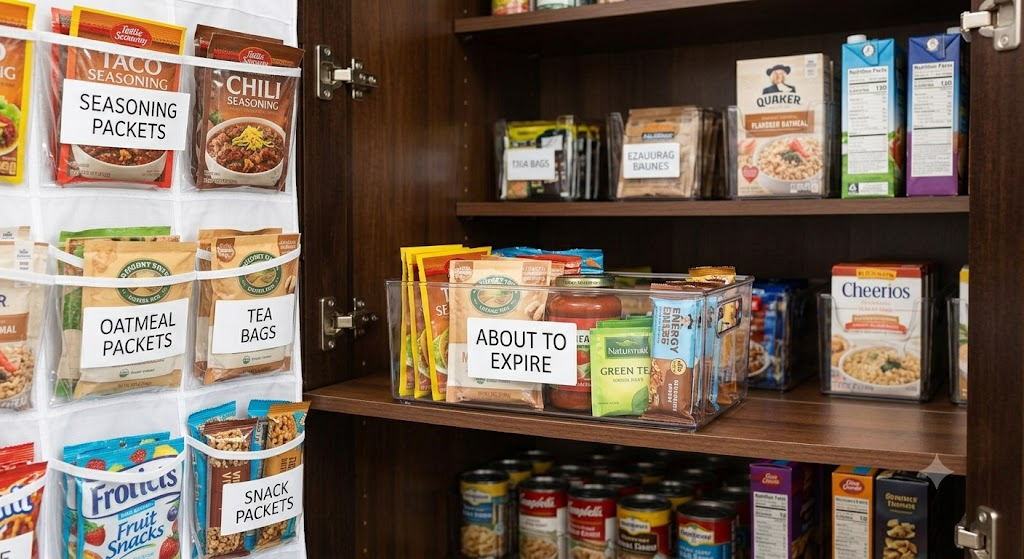
18. Use clear over-door pockets for snack packets and seasoning packets
The over-the-door shoe-organizer trick works even better in a pantry than in a closet — each pocket holds one category (taco seasoning, oatmeal packets, tea bags).
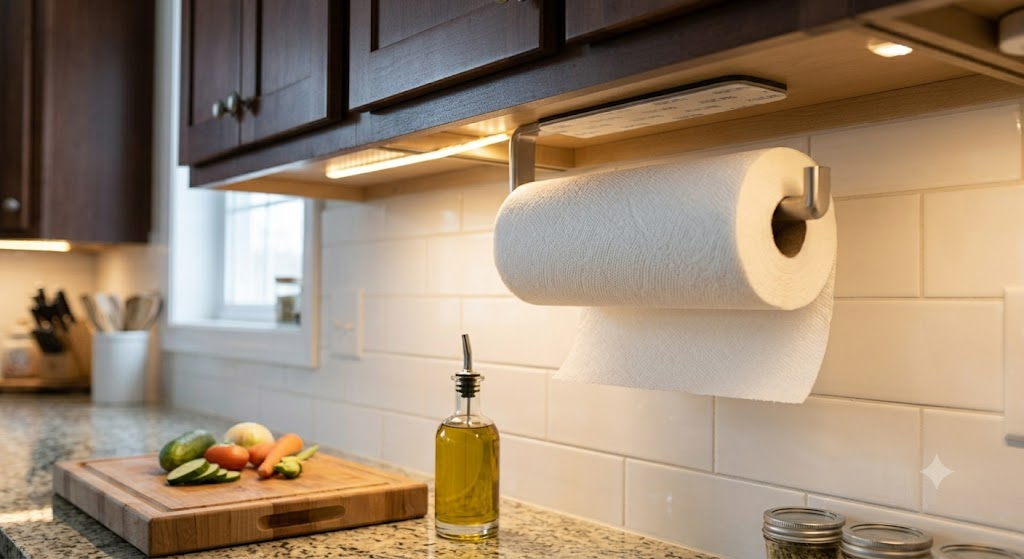
19. Add a paper towel holder that mounts under a cabinet with adhesive
Frees counter space without a single screw. Look for the self-adhesive version, not the screw-in version — some listings sell the same-looking holder both ways, so check the mounting method before you buy.
20. Use a bin specifically for “about to expire” items at eye level
Put anything close to its expiration date in one bin, front and center. You’ll actually use it instead of finding it expired three months later.
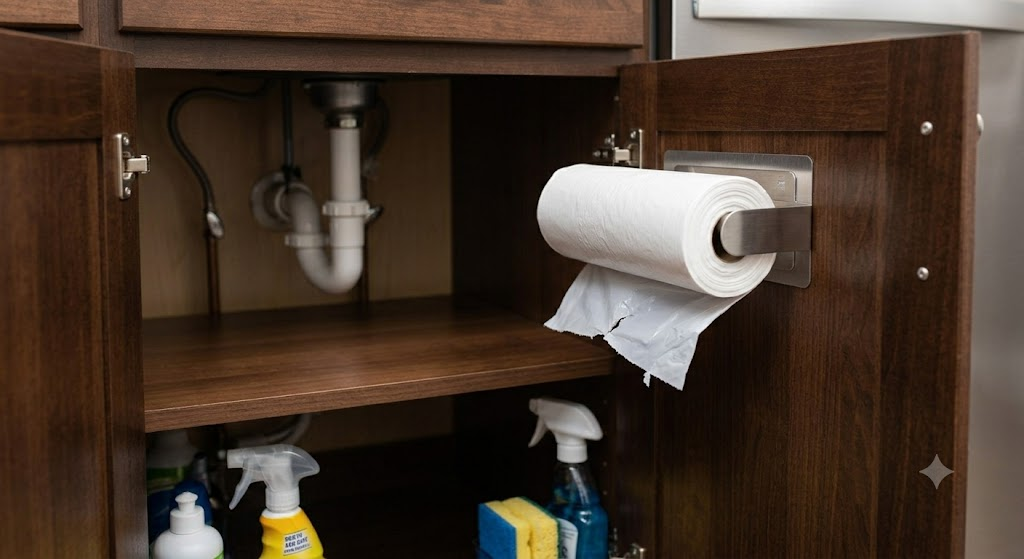
21. Hang a small trash bag holder inside the cabinet under the sink
A $9 adhesive holder keeps a roll of trash bags exactly where you need them instead of buried under cleaning supplies.
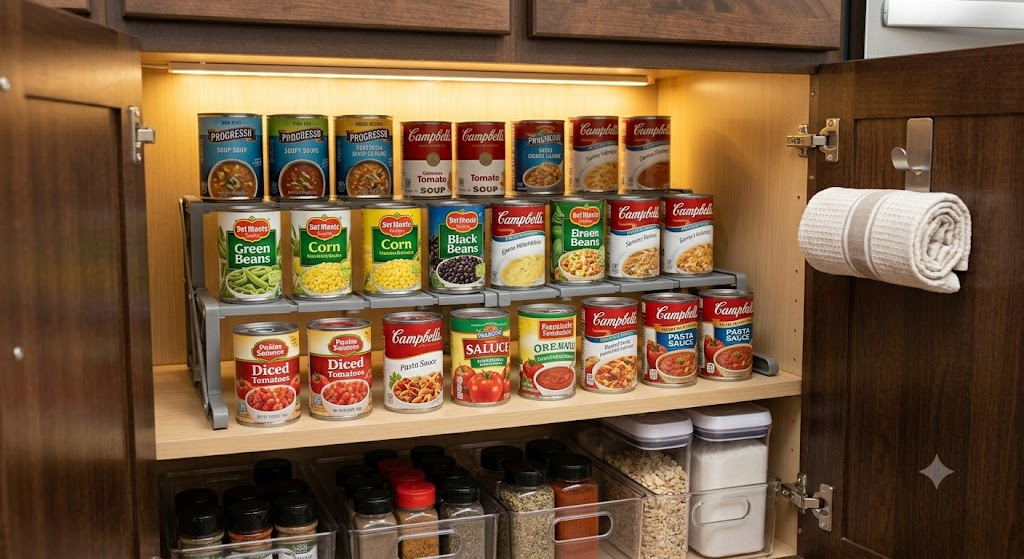
22. Use a 3-tier expandable shelf for canned goods
These accordion-style risers fan out to fit any cabinet width and let you see three rows of cans at once instead of digging through a solid stack.
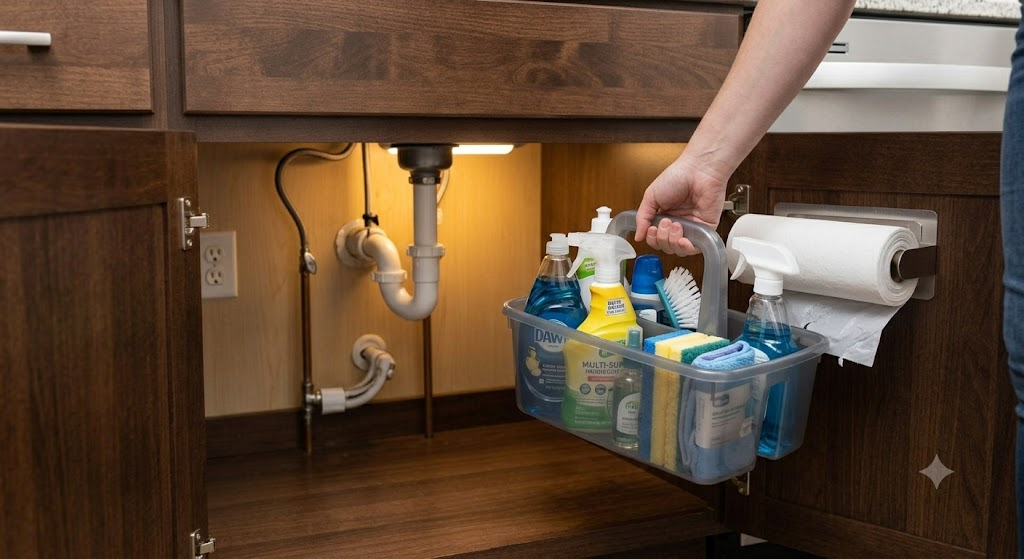
23. Keep cleaning supplies in a caddy you can lift out entirely
A $12 plastic caddy with a handle means you can pull everything out at once to clean under the sink, instead of removing bottles one at a time.
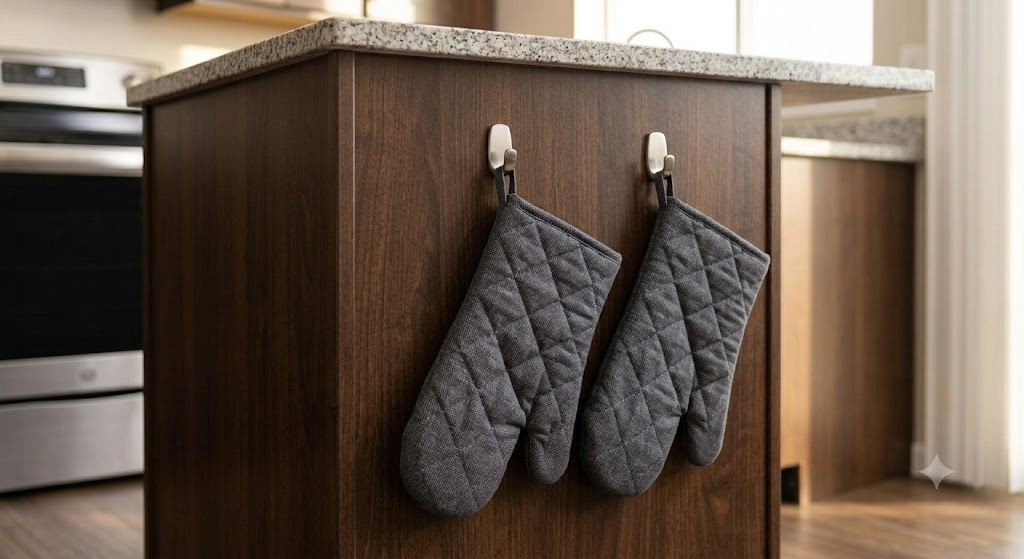
24. Use adhesive hooks on the side of a cabinet for oven mitts
The side of a cabinet (the part facing into the room) is almost always wasted space. Two hooks and your oven mitts are always in the same spot.
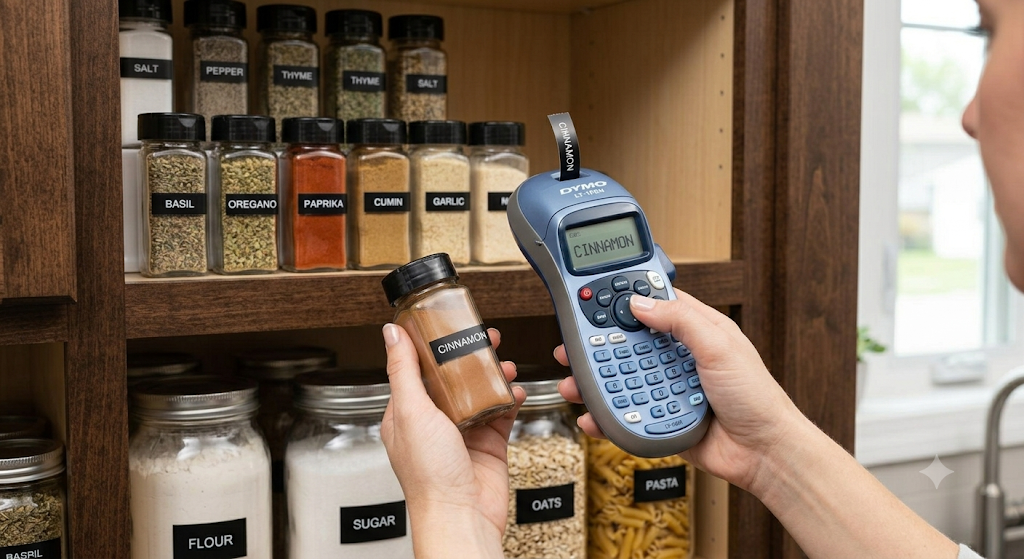
25. Label everything with a $15 label maker, not handwriting
Consistent labels make a system feel finished and make it much more likely you’ll actually maintain it after the first week.
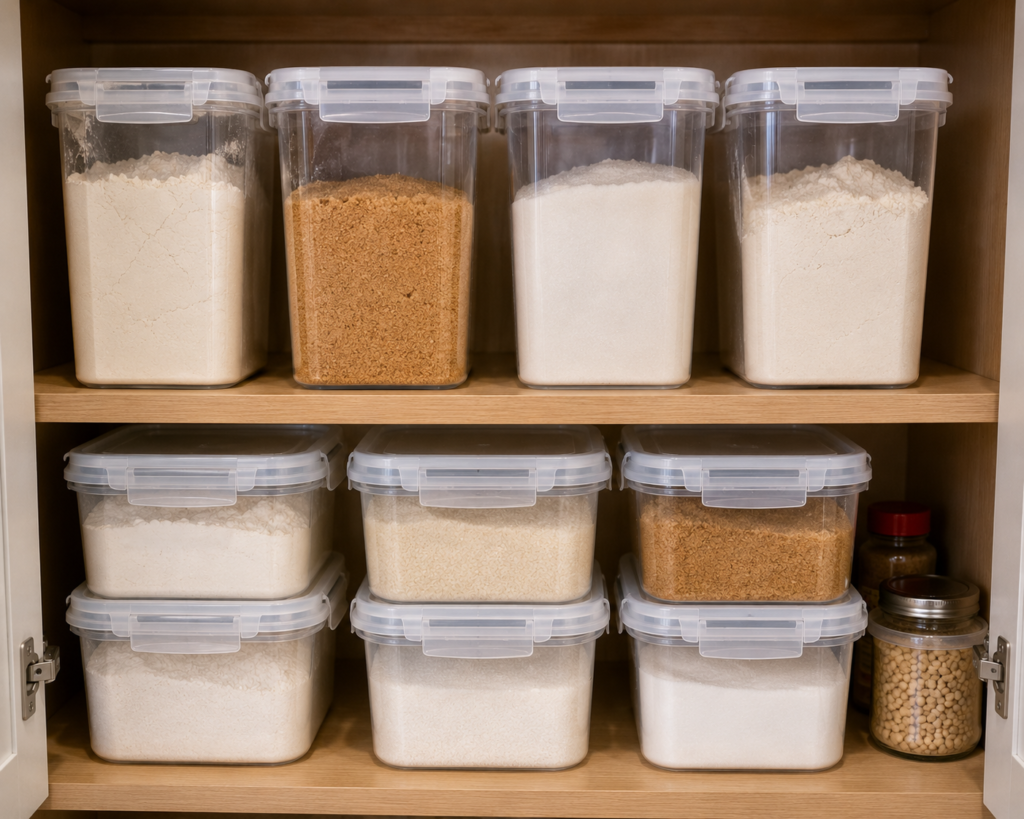
26. Use stackable bins with lids for flour and sugar, not the original bags
Beyond organization, this keeps pantry moths and humidity out — a real problem in a lot of older rental units.
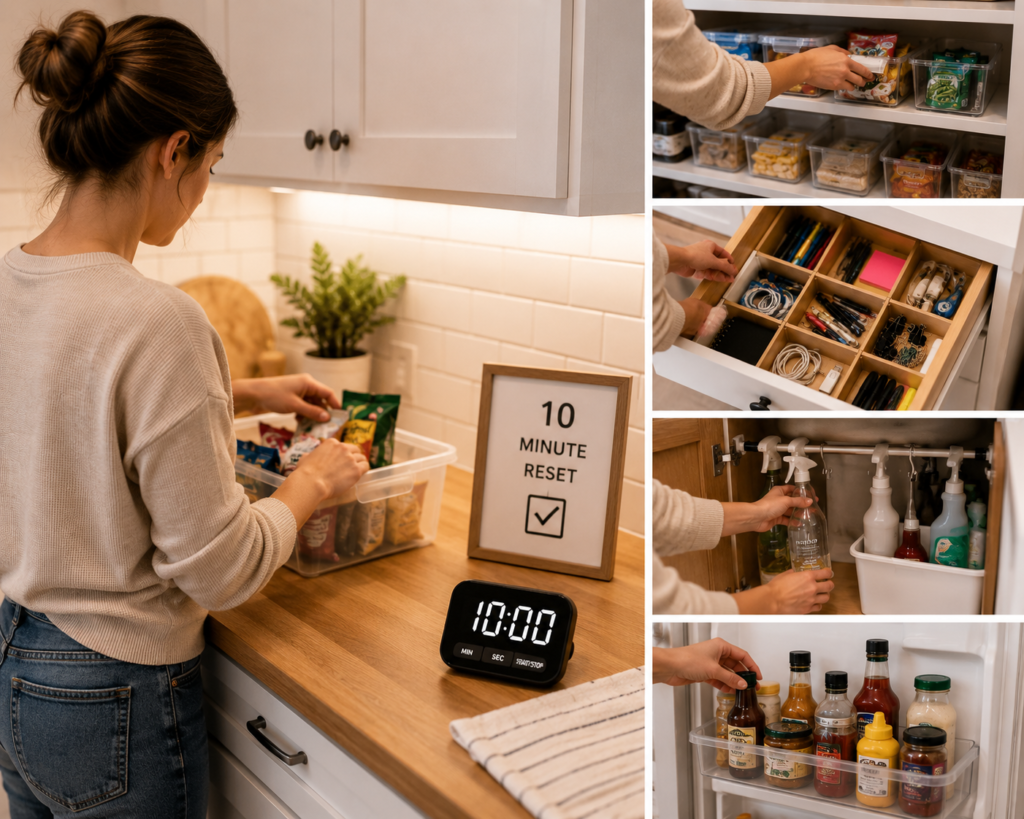
27. Do a 10-minute “reset” once a week instead of a big cleanup once a month
The single cheapest tool on this list: a recurring 10-minute Sunday reset where everything goes back to its bin. No product required, and it’s what makes every other item on this list actually last.
Frequently Asked Questions
Will adhesive hooks and command strips actually hold without damaging paint? Yes, as long as you follow the weight limit printed on the package and remove them the way the instructions describe (usually pulling the tab down and out, slowly, rather than yanking outward). The failures people blame on the product are almost always a hook rated for 1 pound holding a 3-pound pan.
What if my lease specifically bans adhesive products? Some leases do call this out. If yours does, lean on the tension-rod and freestanding-bin ideas on this list instead — items 1, 5, 7, 10, 13, 17, and 22 don’t touch the walls or cabinets at all.
How long do these organizers actually last through a move? Tension rods and stackable bins move with you indefinitely — they’re not attached to anything. Adhesive hooks and racks are designed to come off clean, but very humid climates can weaken the adhesive faster, so check them every few months rather than assuming they’ll hold forever.
Do I need to buy everything from the same brand? No. Mixing brands is normal and often cheaper — buy dividers from one listing and hooks from another rather than a single “kitchen organization bundle,” which usually overcharges for items you don’t need.
Final Thoughts
None of this requires a single hole in the wall, a landlord’s permission, or a weekend of work. Pick the two or three ideas that solve your biggest daily annoyance first — for most people, that’s the junk drawer or the cabinet where lids live — and expand from there as budget allows. A rental kitchen doesn’t have to feel temporary just because the lease is.
What I’d Do Differently
If you’re starting from zero, don’t buy all 27 products in one order. Start with the Quick Fix tier (hooks + tension rod, $33.89), live with it for a week, and only then decide whether the drawer dividers or the clear bins solve your next-biggest annoyance. Buying everything upfront is how organizing supplies end up as clutter themselves — which defeats the entire point. The honest version of this article would admit that most of these ideas take fifteen minutes each; the hard part was never finding the products, it was deciding that a rented kitchen is still worth the effort.